
Basically, HTML5 audio player can’t be styled if we used the “controls” attribute inside the audio tag. But, we can easily customize the player interface if we have a custom controls function. If you have tried to style the HTML5 audio player, you may have not got the result. It is because the “controls” attribute replaces the default browser’s audio player. So, this tutorial explains how you can customize an HTML5 audio player with CSS.
Before starting the customization process, I’d suggest you browse the demo page to test the audio player. There, I have placed two audio players, one of them is the default browser player and the other one is the CSS customized audio player with custom controls.
We need to create the custom HTML tags for the audio player interface in order to style these elements with CSS. After that, we’ll get all these elements in JavaScript and attach the function. Basically, you don’t need to deal with JavaScript code as we are going to share the JavaScript file for the custom audio player. Anyhow, you can define the additional CSS styles to customize the audio player according to your needs. So, let’s create the HTML structure for a custom audio player.
In HTML, create a div tag with "audio-player" class that will be used as a player’s container. Similarly, create elements for timeline, progress, controls, etc as described below:
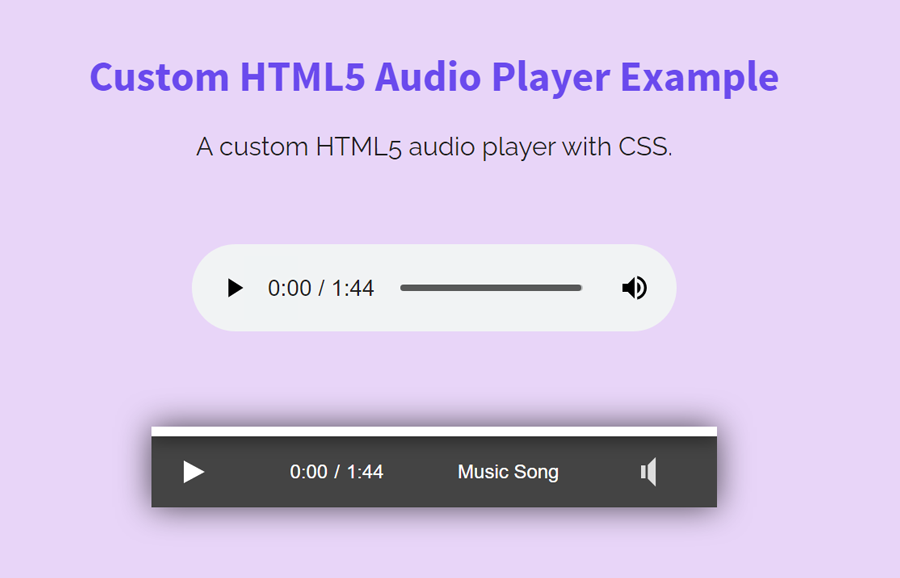
<div class="audio-player"><div class="timeline"><div class="progress"></div><div class="controls"><div class="play-container"><div class="toggle-play play"><div class="time"><div class="current">0:00</div><div class="divider">/</div><div class="length"></div><div class="name">Music Song</div><!-- credit for icon to <https://saeedalipoor.github.io/icono/> --><div class="volume-container"><div class="volume-button"><div class="volume icono-volumeMedium"></div><div class="volume-slider"><div class="volume-percentage"></div>
In the <div class="name"> tag you can add the custom text (music name etc). Similarly, you can also add some extra elements (audio thumbnails, etc) to the above HTML.
After creating the HTML elements, now we’ll use the CSS to customize the audio player. The "audio-player " class is the player’s container, define its width, height, background color, and font-size, etc. Similarly, define the box-shadow and keep the overflow hidden. Use the CSS display grid property in which we’ll place the player’s controls.
.audio-player { box-shadow: 0 0 20px 0 #000a; font-family: arial; font-size: 0.75em; grid-template-rows: 6px auto;
Likewise, define the styles for the timeline. Set background color and keep its relative position with 100% width.
.audio-player .timeline { box-shadow: 0 2px 10px 0 #0008;
Keep the 0% width for the progress bar, set the background color, and define the 100% height.
.audio-player .timeline .progress { transition: 0.25s;
The "controls" class is the container for the audio player control buttons. Define CSS styles for this container as described below:
.audio-player .controls { justify-content: space-between; align-items: stretch;.audio-player .controls > * { justify-content: center; align-items: center;
Similarly, create the CSS styles for the toggle play/pause button. You can also set the custom icon for these buttons according to your needs.